Red Velvet Cake, the authentic red velvet cake to make at home

This famous American cake, also called red velvet cake It is fully integrated into our celebrations and digital gastronomic spaces, due to how photogenic it is. But I have to say that the best thing is not its appearance, but its taste, which dazzles even those with a less sweet tooth.
Red food coloring is now used to achieve this beautiful, deep colour, but it appears that initially it was a softer red, the result of a natural chemical reaction of baking soda and buttermilk with cocoa. After the Second World War and due to the shortage of sugar, some pastry chefs began to add beetroot cream to give sweetness and to achieve greater fluffiness and moisture in the cakes. With this they also achieved an intense red color, thus improving the appearance of these creations. Undoubtedly, the American boom of this red velvet cake was in the 40s, but Hollywood made it fashionable again, even internationally, in the movie Steel Magnolias.
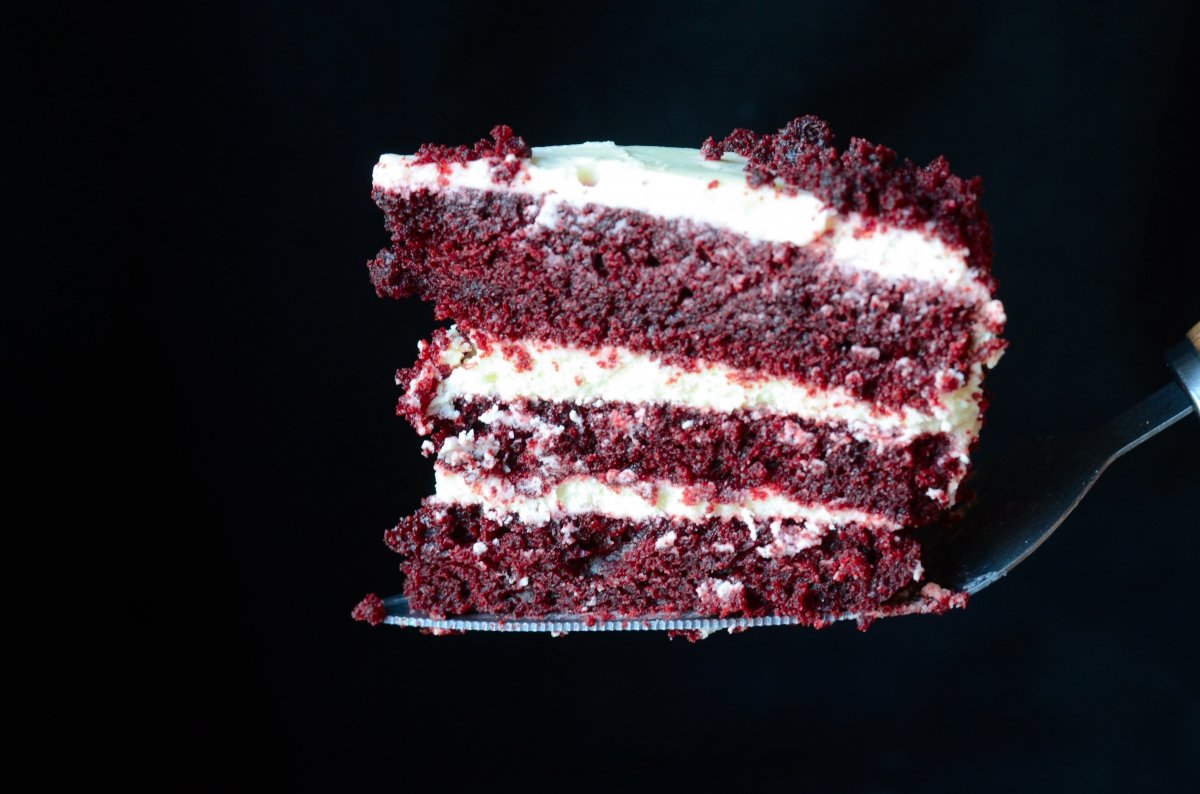
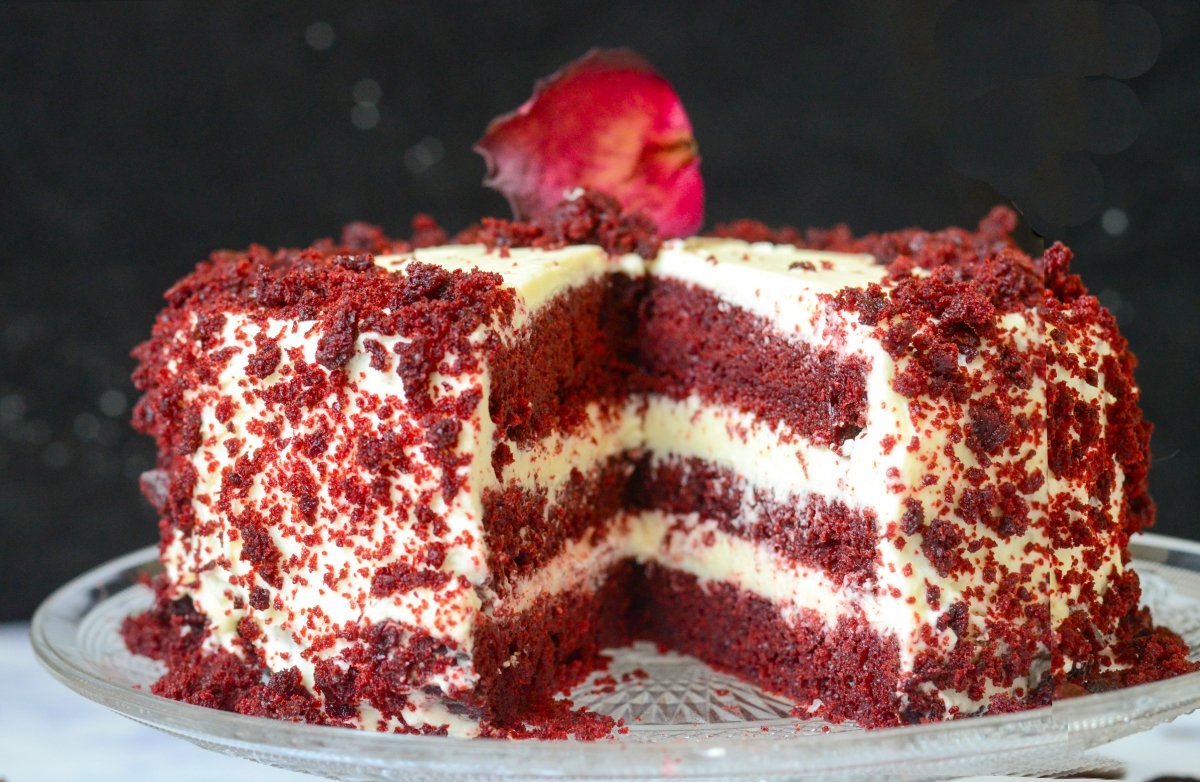
There are countless recipes and ways to make Red Velvet and they all agree on the ingredients, but the proportions of these and the step by step in the production process vary. Typically, cakes for layer cakes, also called layer cakes, are made using the creaming method. This consists of first preparing a fatty mixture, which is usually butter, sugar and eggs, to which the dry and liquid ingredients are then added alternately. These sponge cakes are light and very fluffy, ideal for tall and stylized cakes of up to six stories; however, I have used the “one bowl” method, in which, on the one hand, we mix the liquid ingredients and on the other the dry ones, which we will add little by little to the first mixture. It is less labor intensive and the result is a much moister and silkier cake. Its crumb is denser, but since this Red Velvet only has three layers, with the “one bowl” it has been perfect and delicious.
recipe information
-
- Preparation time: 45 minutes
-
- Cooking time: 50 minutes
-
- assembly time: 15 minutes
-
- total time: 1 hour and 15 minutes
-
- rations:10
-
- Category: cake shop
-
- type of cuisine: international
-
- calories: 680 kcal per serving
Red Velvet cake ingredients for 10 people
For the cake:
-
- 200 ml of EVOO
-
- 150g of sugar
-
- 2 eggs
-
- 250 g pastry flour
-
- 30g cocoa
-
- 240 ml of buttermilk or whey
-
- 2 tablespoons of white vinegar
-
- 2 tablespoons red food coloring
-
- 1 teaspoon baking soda
-
- 1/2 teaspoon salt
-
- 5ml vanilla paste
-
- 7 g baking powder
For the cream cheese:
-
- 200g butter
-
- 200g cream cheese
-
- 100 g of whipped cream
-
- 200 g icing sugar
-
- Salt
How to make Red Velvet
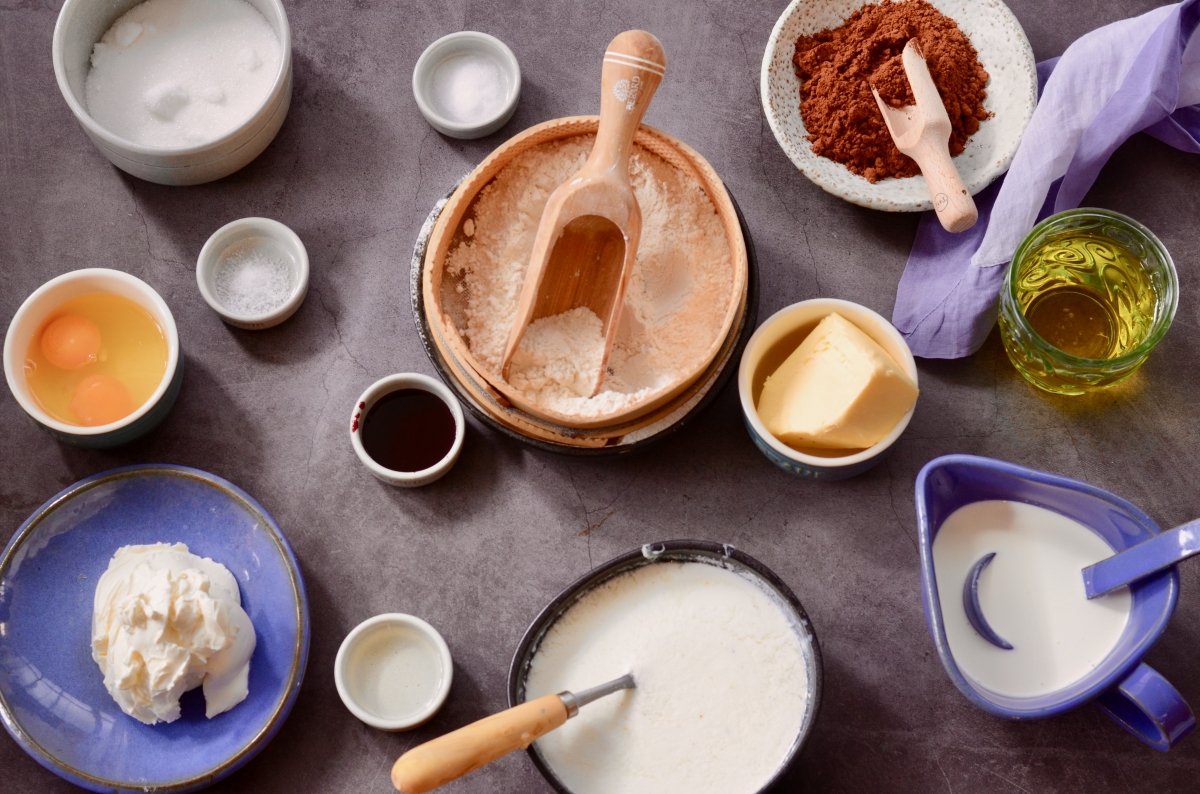
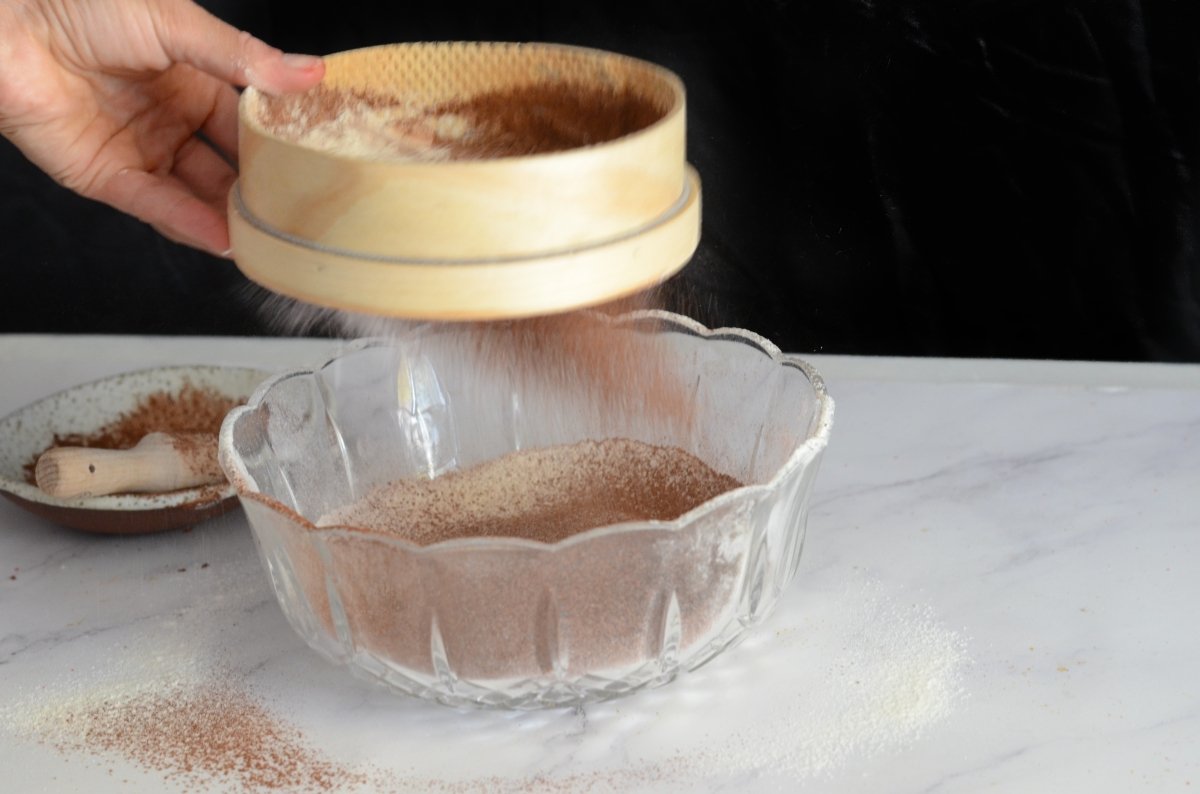
First and as always we weigh and measure all the ingredients and leave them at room temperature. Mix the flour with the cocoa, sugar, salt and yeast, sift it all together and reserve. At the same time, we turn on the oven and put it at 180º so that it heats up while we prepare the cake mixture.
In a bowl we put all the liquid ingredients: the oil, the eggs, the buttermilk, the vanilla, the vinegar and the colouring.
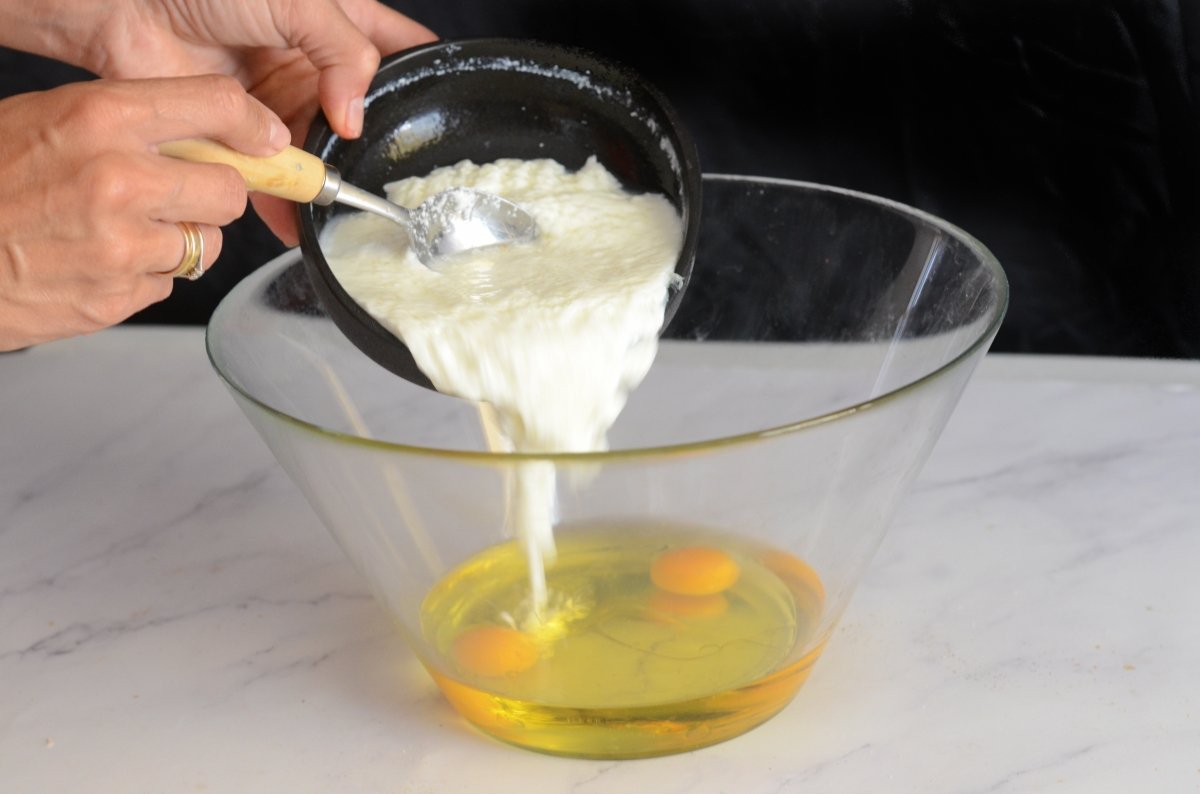
With a mixer we mix them for a few minutes until they are creamy.
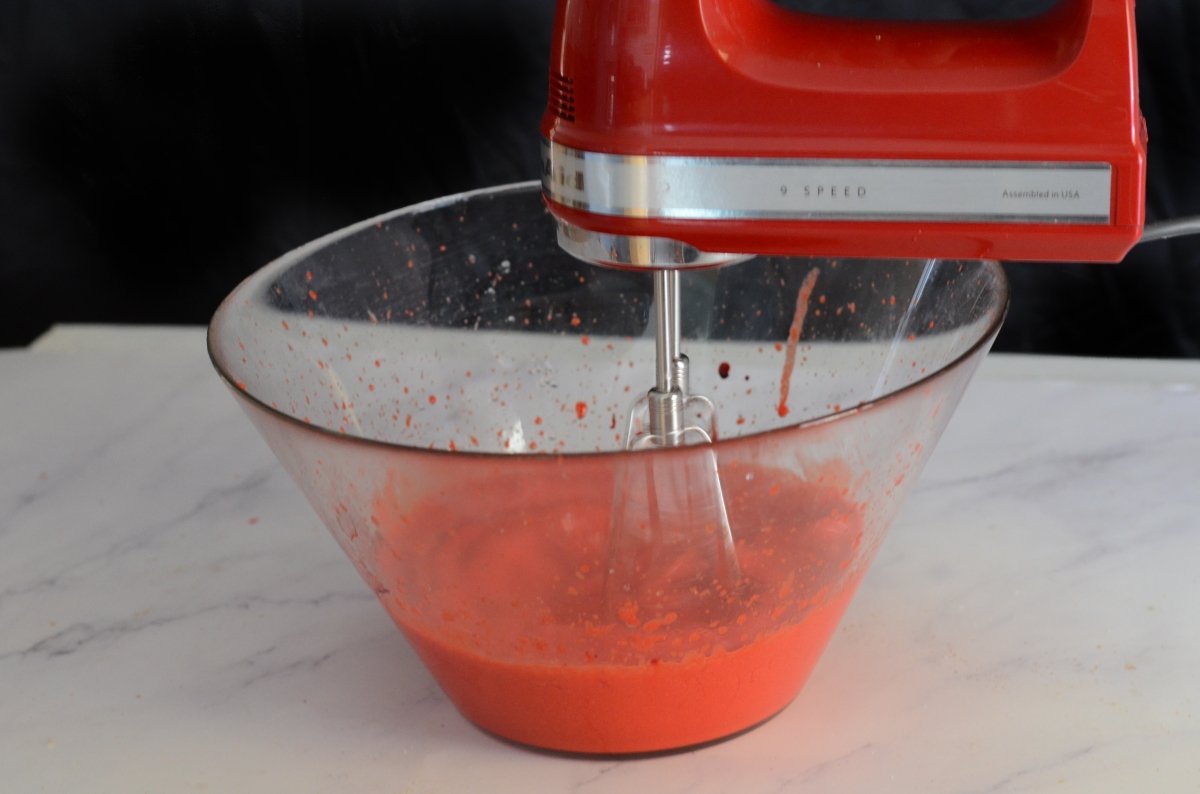
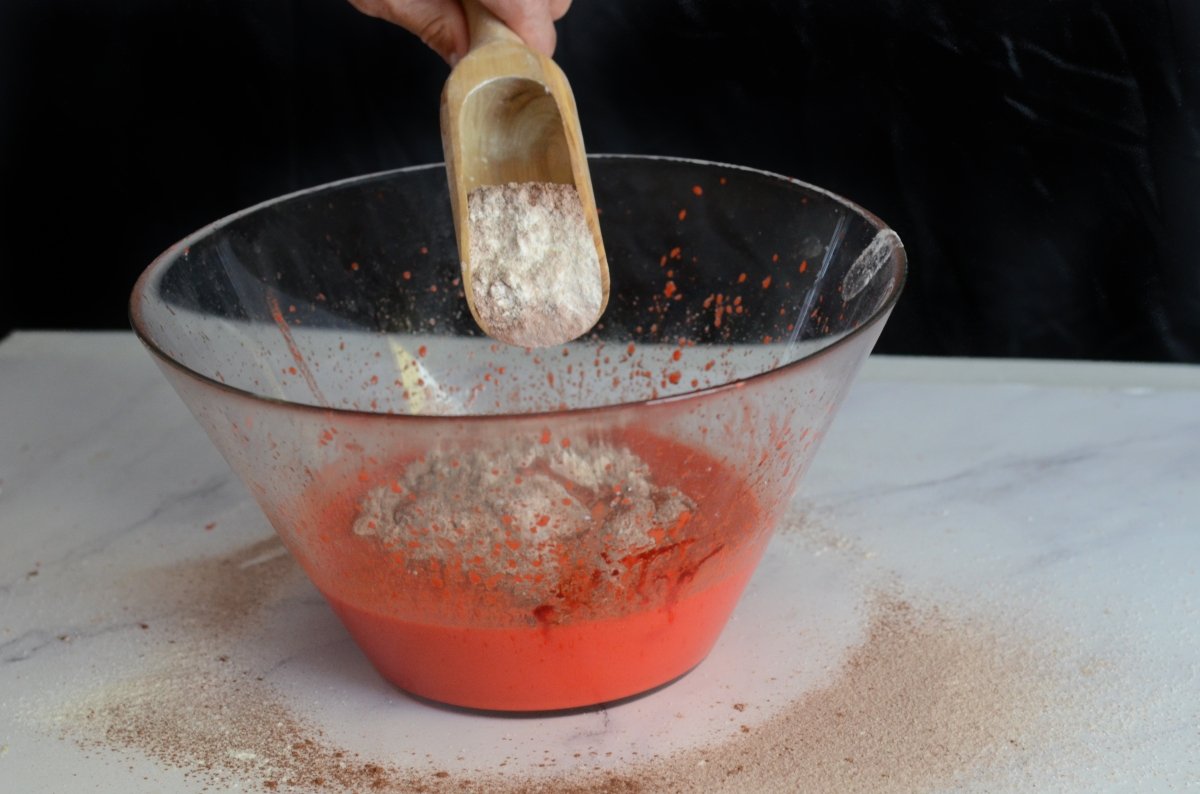
Next, we are incorporating the combination of the dry ingredients, little by little and mixing it at low speed. Finally, when we have everything combined, we add the baking soda and stir a little more so that it is integrated into the mixture.
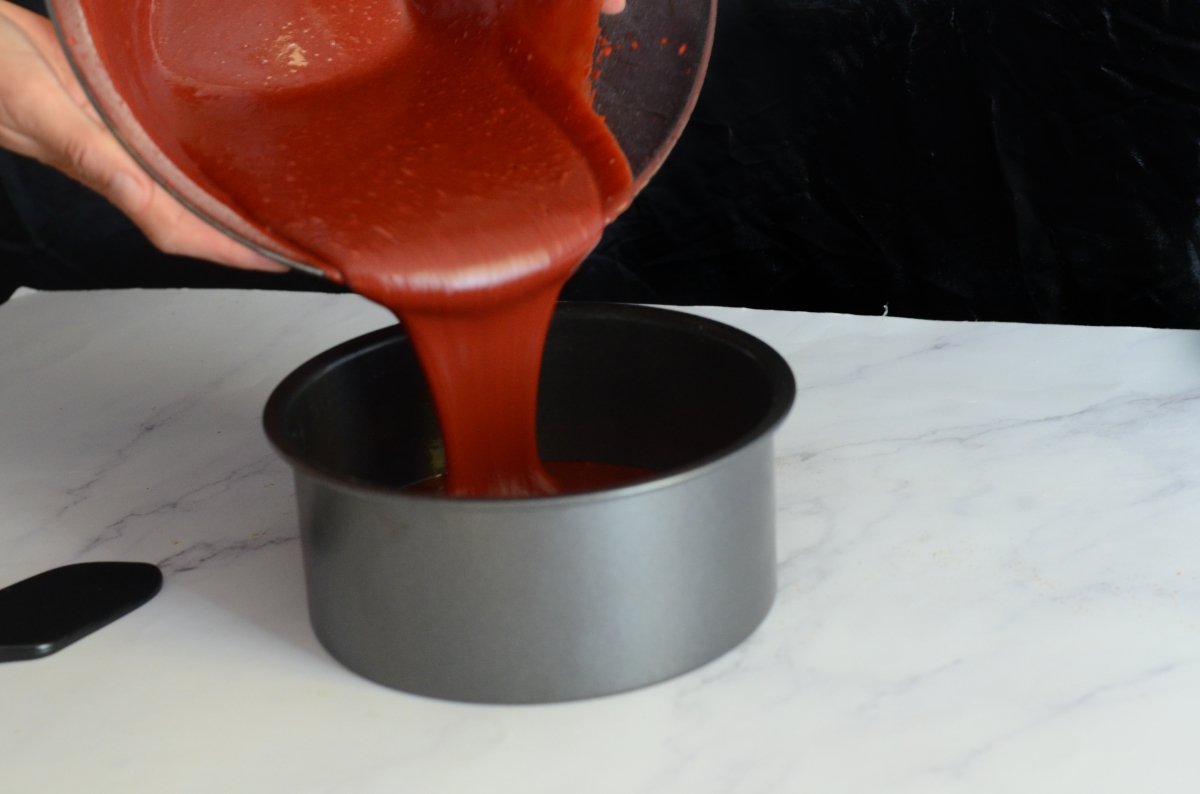
Pour the cake preparation into the previously greased mold and bake for 50 minutes at 180ºC. We can also do it in three individual molds of the same size, if we have them and space in the oven. After 50º minutes, we check if the cake is ready by piercing it with a skewer, at the moment that it comes out dry we remove it from the oven. Wait a couple of minutes and turn it out on a wire rack to cool completely.
With the cake already cold, we are making the cheese and butter cream. It is not recommended to prepare it well in advance, since having to store it in the fridge, it hardens and then it is very difficult to handle and spread over the layers of cake. In a bowl, mix the softened butter with the sugar and beat until creamy.
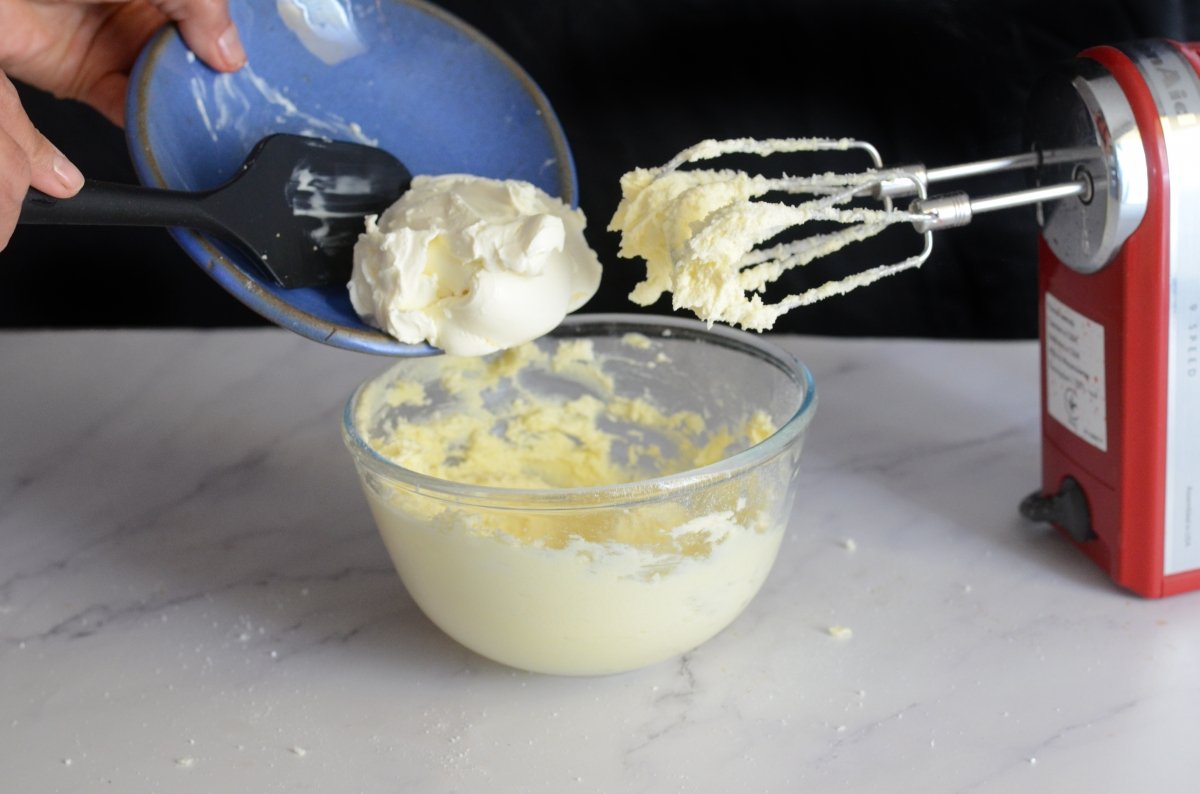
Add the cheese and continue working at low speed, until we see it uniform. Finally, add the whipped cream and mix everything with a spatula. We keep this glaze in the fridge for a few minutes, while we divide our cake into three parts. First we cut the central upper domed part, which is normally formed in biscuits, so that it is completely flat. This leftover piece, we crumble it and reserve it to decorate the cake later.
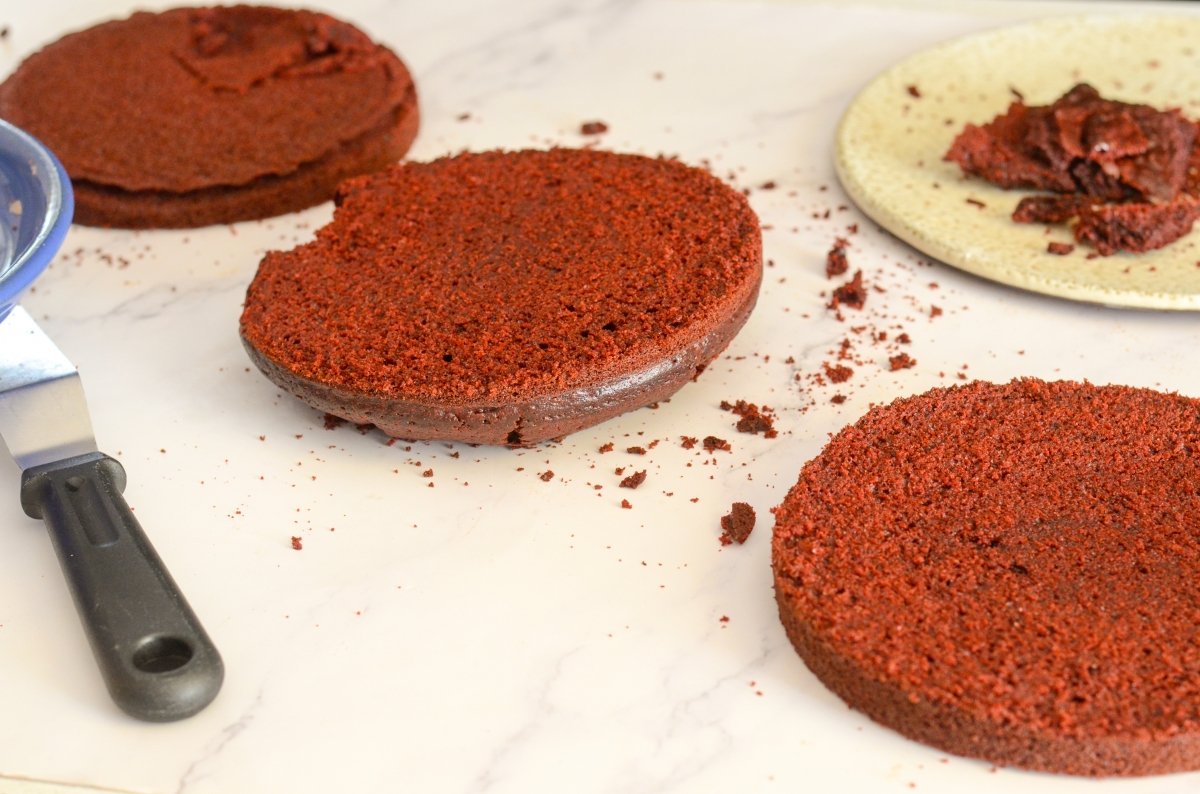
With a specific lyre or saw for this, we cut three equal and uniform discs and began to assemble the different layers.
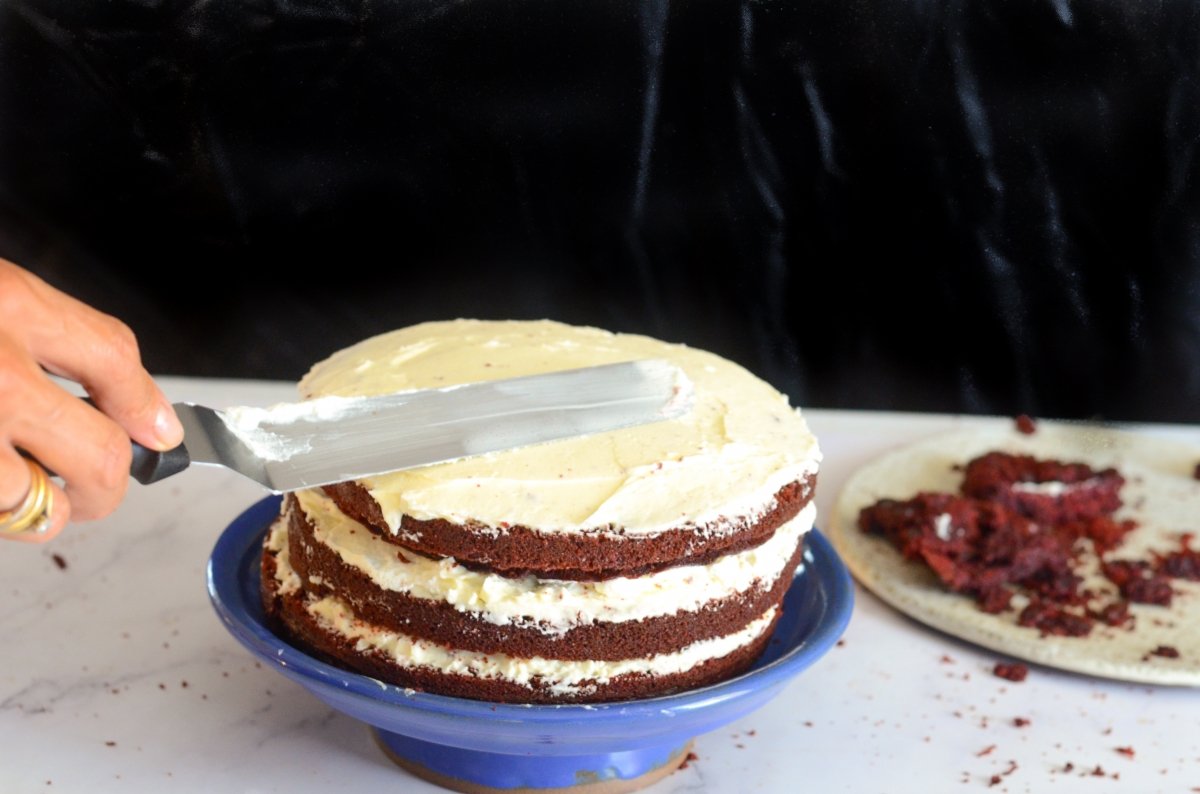
We put a little cream on the base where we will place the cake, so that it does not move. On top we place a first disc of sponge cake and, on it, we spread the cream of cheese and butter. We will use a quarter, more or less, so that we have the same layers and with the same amount of filling, also taking into account the final decoration on the sides. We are alternating layers of cream with sponge disks, ending with the cheese and butter glaze. Then we cover it completely on the sides, helping us with a spatula, so that it is smooth and uniform.
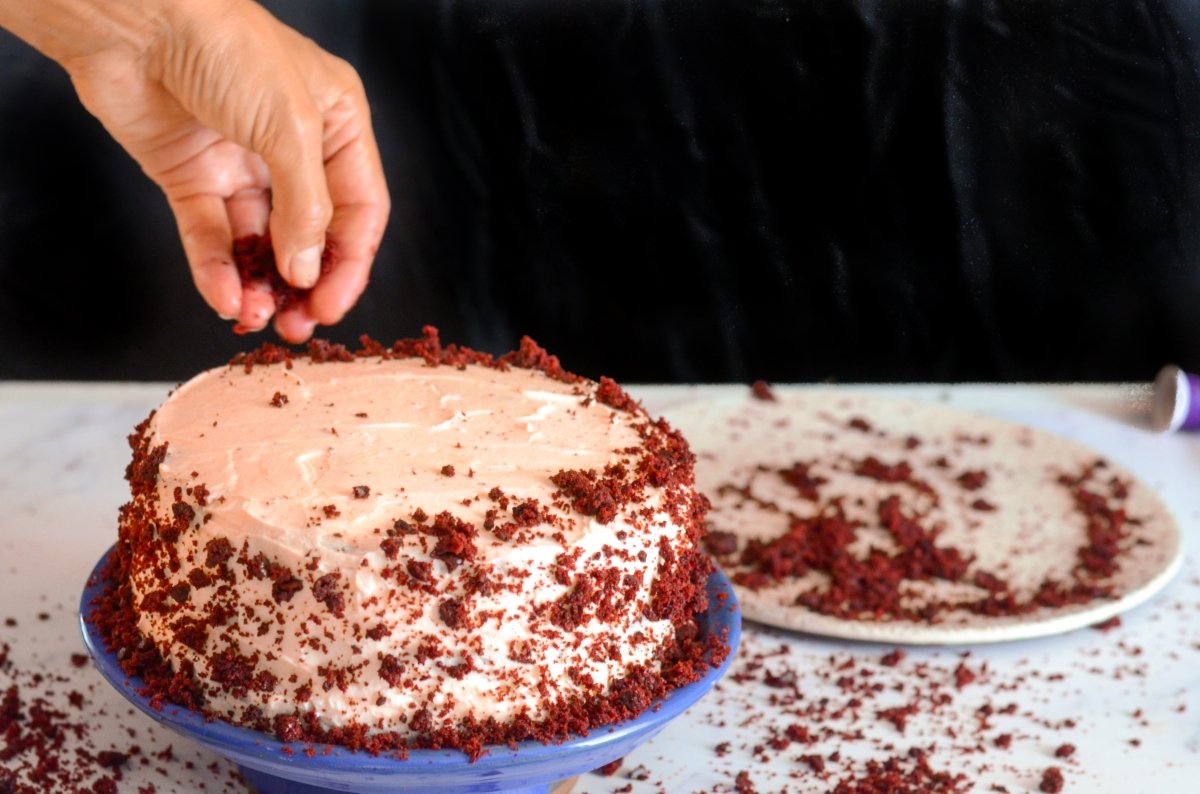
We decorated it with the sponge cake crumbs that we had reserved and we kept our cake in the fridge for a couple of hours before tasting. With this we get the cream to acquire a little more consistency and integrate with the cake.
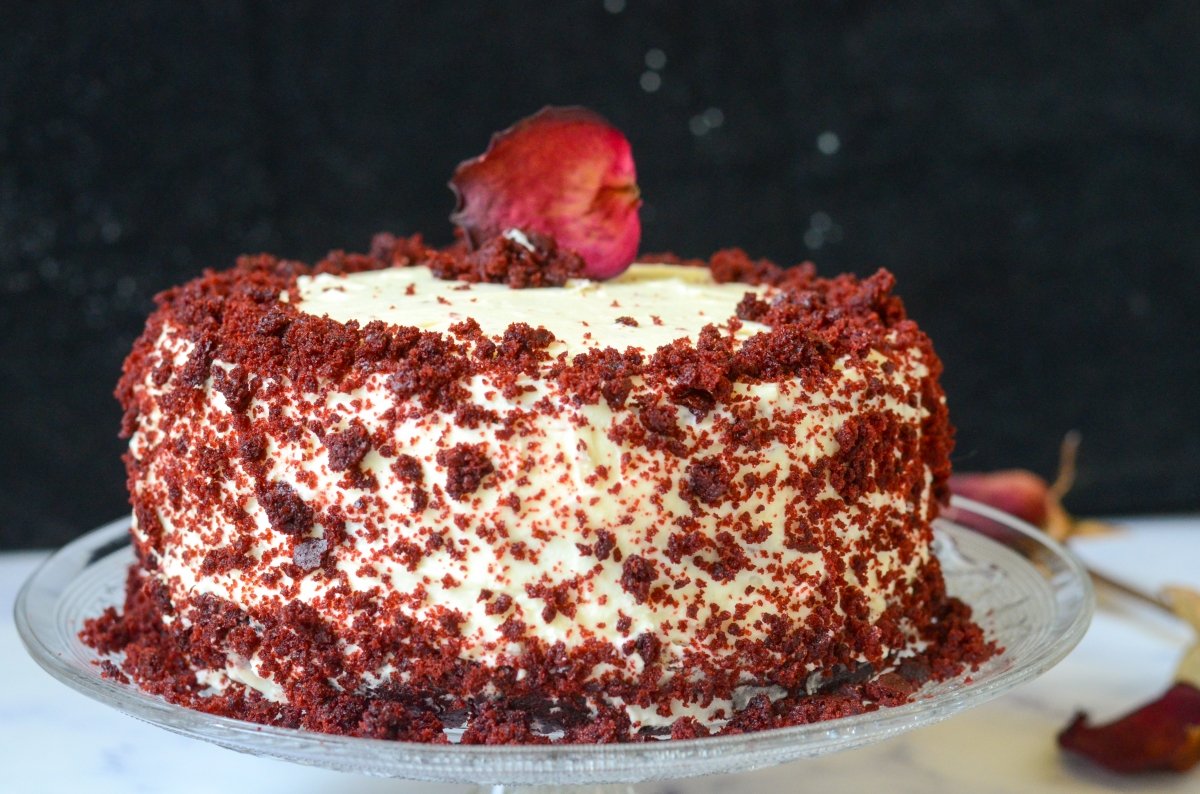
The Red Velvet will be much richer the next day, so it is advisable to plan and do it one day in advance. In this way, in addition to dividing up the work and making it more bearable, we will have a cake full of flavour.
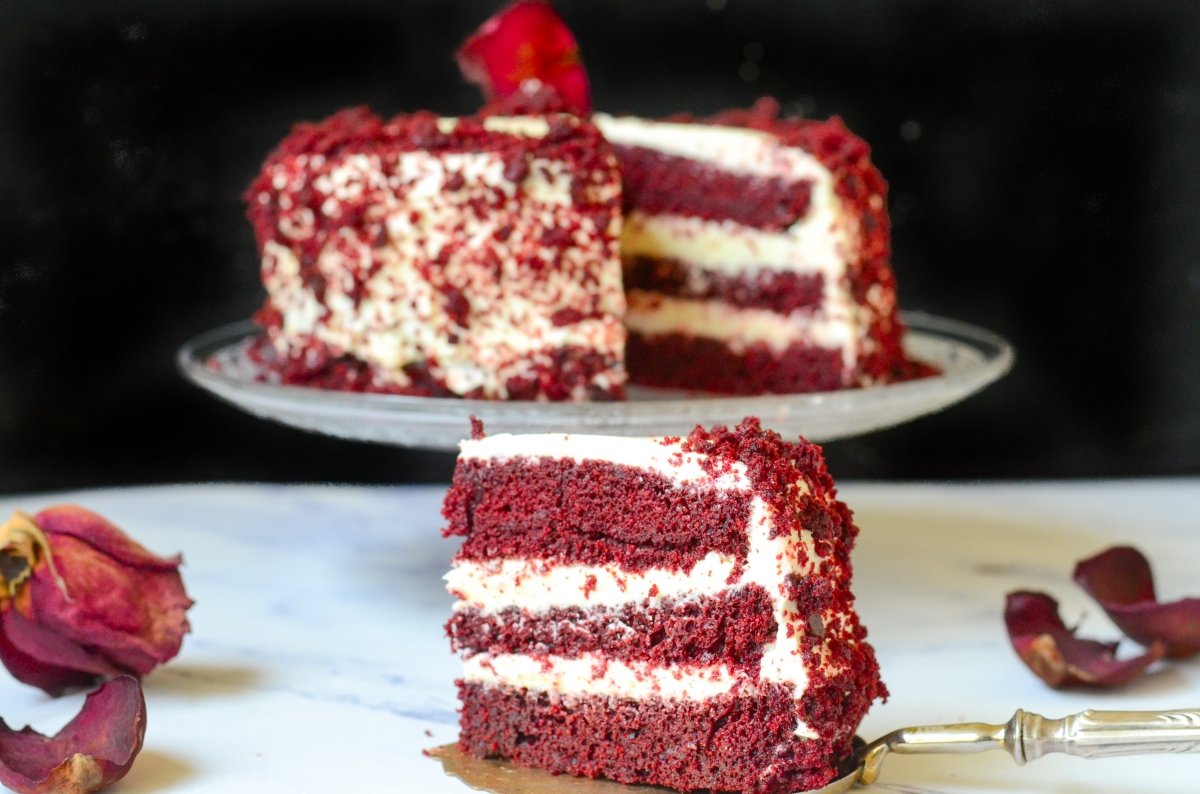
Easy preparation summary
-
- Prepare all the ingredients and leave them at room temperature.
-
- Turn on the oven and start preparing the cake.
-
- Mix the dry ingredients and sift them all together
-
- Separately, in a bowl, beat the oil, eggs, buttermilk, vinegar, vanilla essence and coloring
-
- We are adding the dry ingredients in three times, little by little and without stopping stirring
-
- Add the bicarbonate of soda at the end, mix and pour the dough into the previously greased mold
-
- Bake at 180ºC for 50 minutes
-
- Let cool on a wire rack
-
- Prepare the cream cheese by mixing the butter with the sugar and when it is creamy add the cheese
-
- Finally, add the whipped cream and reserve in the fridge for a few minutes.
-
- Level the cake on top, cutting off the domed part
-
- We cut it into three disks of the same size
-
- We assemble the cake alternating layers of sponge cake with the cream cheese
-
- Cover the sides with the glaze using a spatula to spread it evenly
-
- Decorate with the crumbs of the cake that we had removed to unify the discs
-
- And we keep it in the fridge, at least a couple of hours before tasting it, so that it intensifies and the flavors permeate well.


Welcome to Sweet Eats Cakes
Where delectable dreams come to life in the form of exquisite confections! Sweet Eats Cakes isn't just about taste; it's about turning moments into memories. Our cakes are crafted with precision, attention to detail, and a sprinkle of magic to ensure that each slice is not just a treat for the taste buds but a feast for the eyes!