Cristal bread, how this crunchy and delicate homemade bread is made

Crystal bread is a bread that derives from the very popular ciabatta, that is, a flattened bread with large alveoli in the crumb due to its highly hydrated dough, which is quite sticky and soft. But, thanks to this, the airiness of the crumb is enormous; Cristal bread is all crust or almost. The invention of crystal bread is quite recent, far from being a traditional preparation its birth is attributed to the Catalan baker Jordi Nomen around the year 2014. It is a crispy bread perfect to accompany sausages and snacks in general.
Although all crystal bread formulas are similar, The recipe I use comes from the Valencian baker Jesús Machí, with 90% hydration in baker’s percentage (amount of water divided by the amount of flour and multiplied by 100); it is possible to retard cold fermentation in the fridge, which means that the fridge does part of the work of kneading and flavoring the bread dough.
Crystal bread is not a difficult bread to make, since the great hydration makes it a very suitable bread to make folds instead of kneading as such. It is preferable to use a strong flour, instead of just bread-making, to make our work a little easier, especially if we are not very expert in baking. It is somewhat more difficult to handle such a soft dough to cut the pieces, which requires a bit of care and sprinkle a good amount of flour so that we do not end up covered in dough up to the eyebrows. But nothing that you cannot do with our wise instructions. Let’s go there.
recipe information
-
- Preparation time: 4 hours
-
- Cooking time: 30 minutes
-
- total time: 4 hours and 30 minutes
-
- rations: 3
-
- Category: loaves
-
- type of cuisine: international
-
- calories: 210 per 100 g
Ingredients for 3/4 kg crystal bread
-
- 400 g of flour
-
- 360g of water
-
- 8g of salt
-
- 3 g freeze-dried baker’s yeast (9 g fresh yeast)
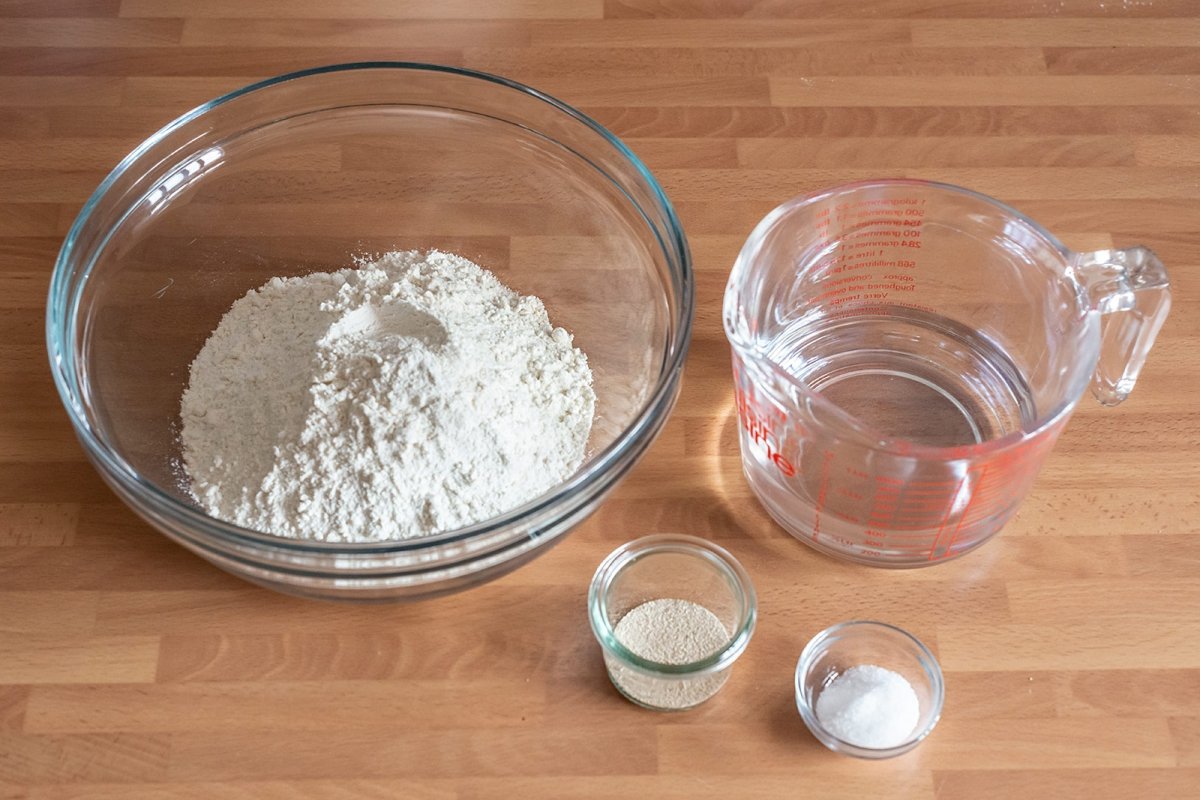
How to make crystal bread
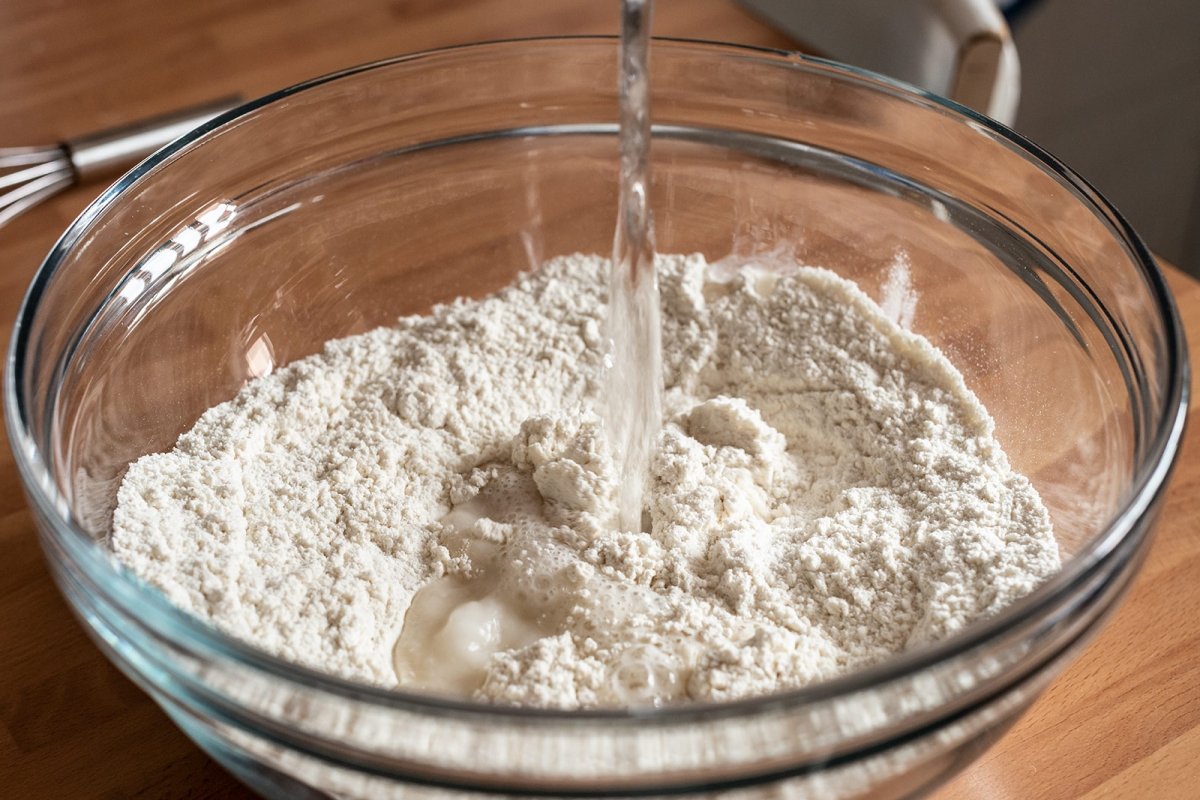
The indicated fermentation times are indicative and always taking into account an ambient temperature of around 20-21 ºC. Mix all the ingredients in a large bowl or in the bowl of a stand mixer. Cover and let rest 10 minutes.
The dough is very hydrated so it is sticky, it should be kneaded with folds instead of a classic kneading. To make a fold, wet your hand, insert it under the dough, between it and the side of the bowl or container, lift one side of the dough, carefully stretching it, and turn it over the rest of the dough. Do the same with the opposite side, as if we were folding the dough in three like the paper of an envelope. You have to be delicate and pull gently, trying not to tear.
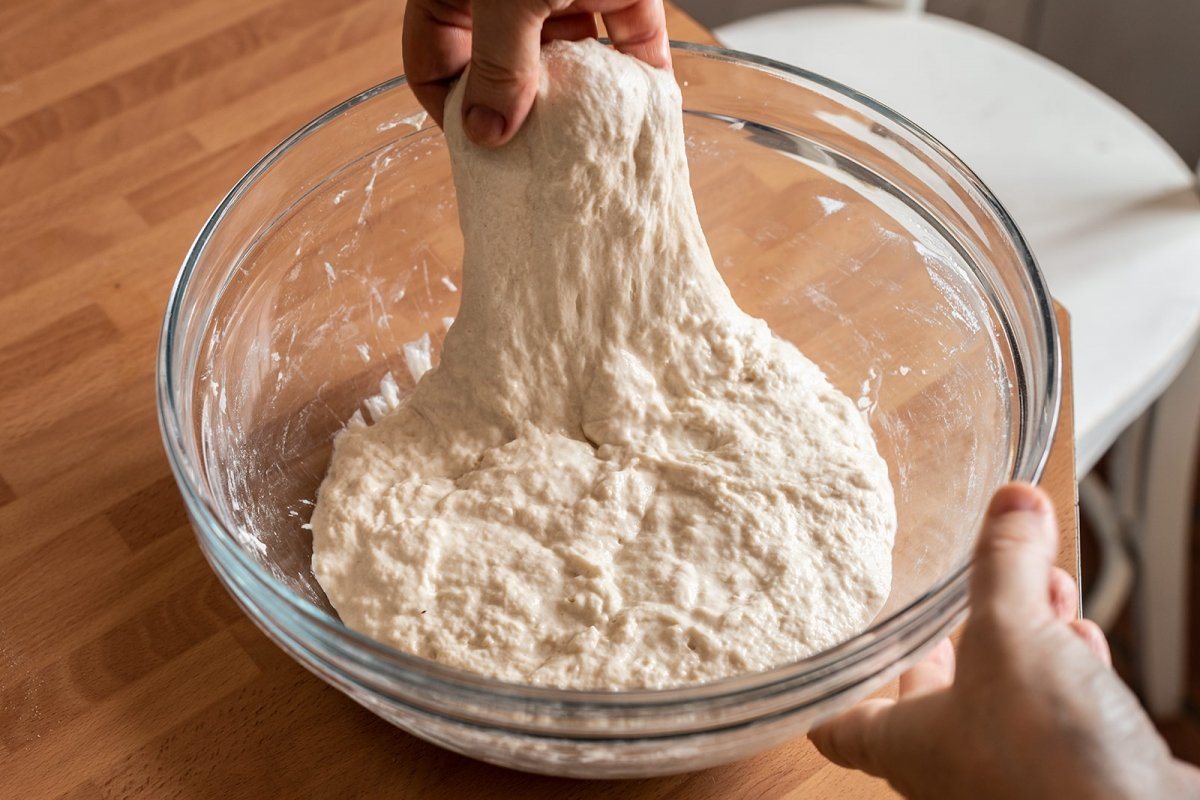
Make folds every half hour for 2-2.5 hours, alternating the direction of the folds; we should notice little by little how the dough thins out, becomes more elastic and acquires structure, which means that after each fold it tends to maintain a certain height, instead of remaining flat like a French omelette.
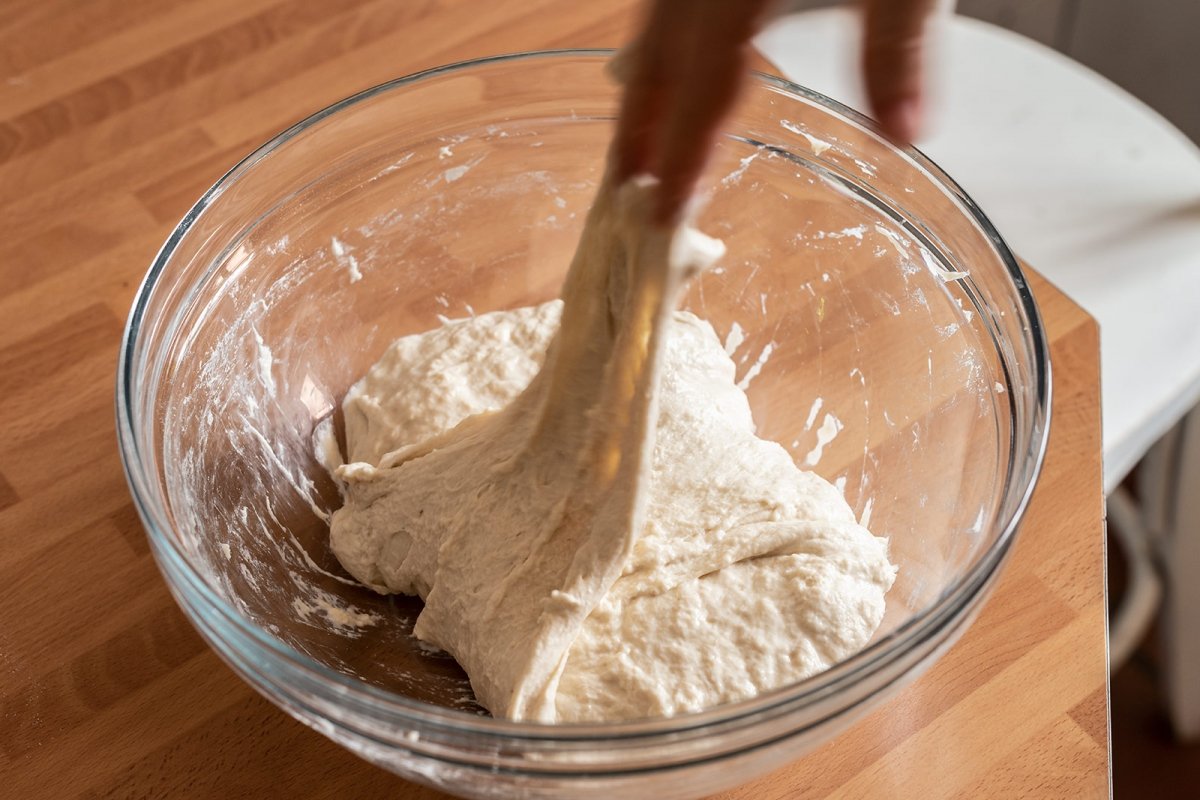
If we see that at the end of the rest between folds and folds the dough begins to have a lot of bubbles, a sign that it is fermenting, put it in the fridge during the rest to slow down the fermentation, instead of having it at room temperature.
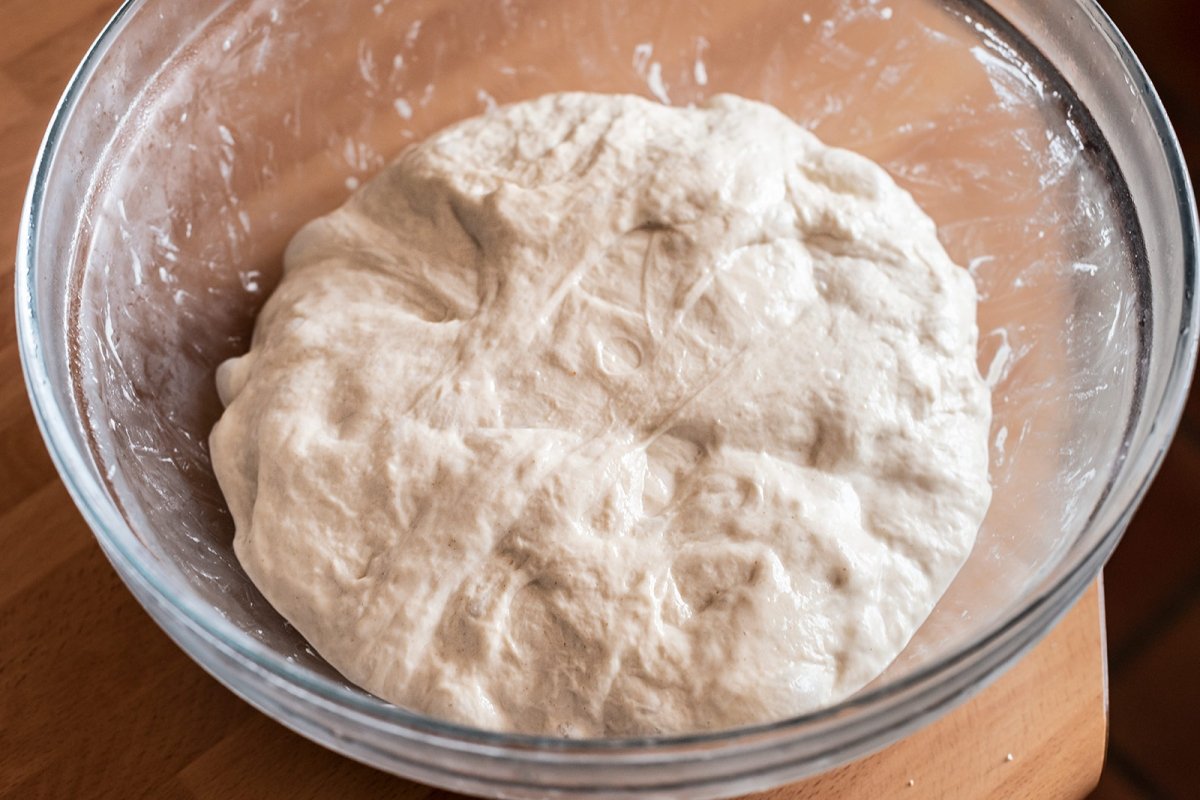
Time and rest are necessary for the development of gluten, but we must prevent the dough from overferming in the meantime.
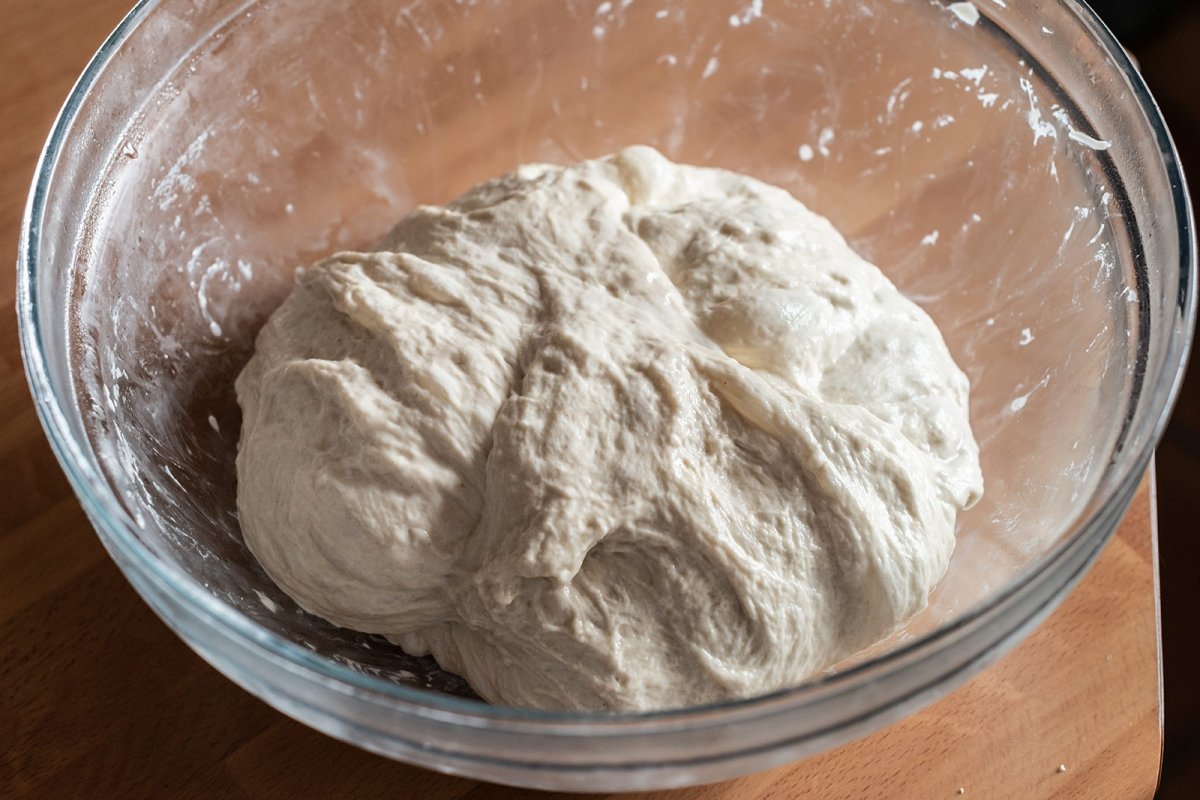
Once the dough has acquired structure after four to six fold-rest cycles, flour the table and turn the dough over trying not to deflate. Also flour the top and rest for 10 minutes.
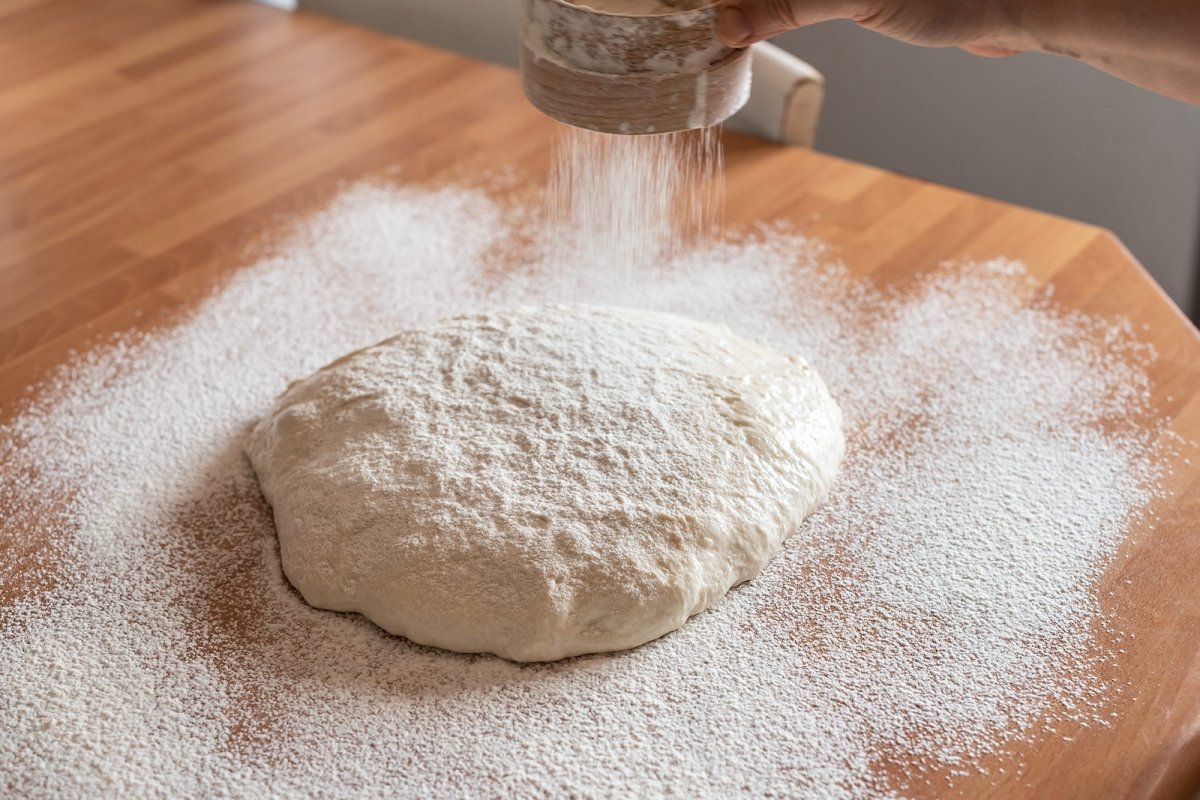
With your hands also floured, insert them under the dough and gently stretch it into a rectangle, leaving it about 2 cm thick, as seen in the photos. If the dough resists stretching, let it rest and continue stretching after resting.
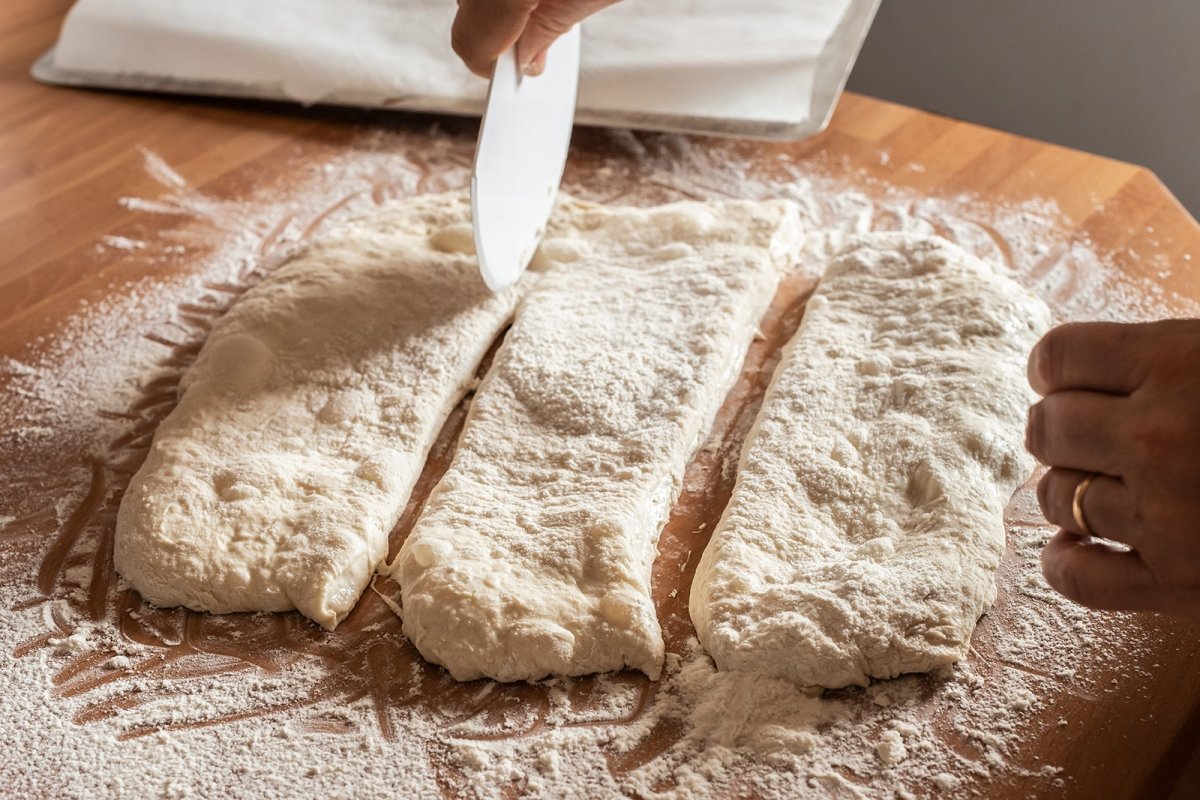
Prepare a baking tray lined with baking paper. With a baker’s scraper, cut the rectangle into three equal rectangles that will be our crystal loaves.
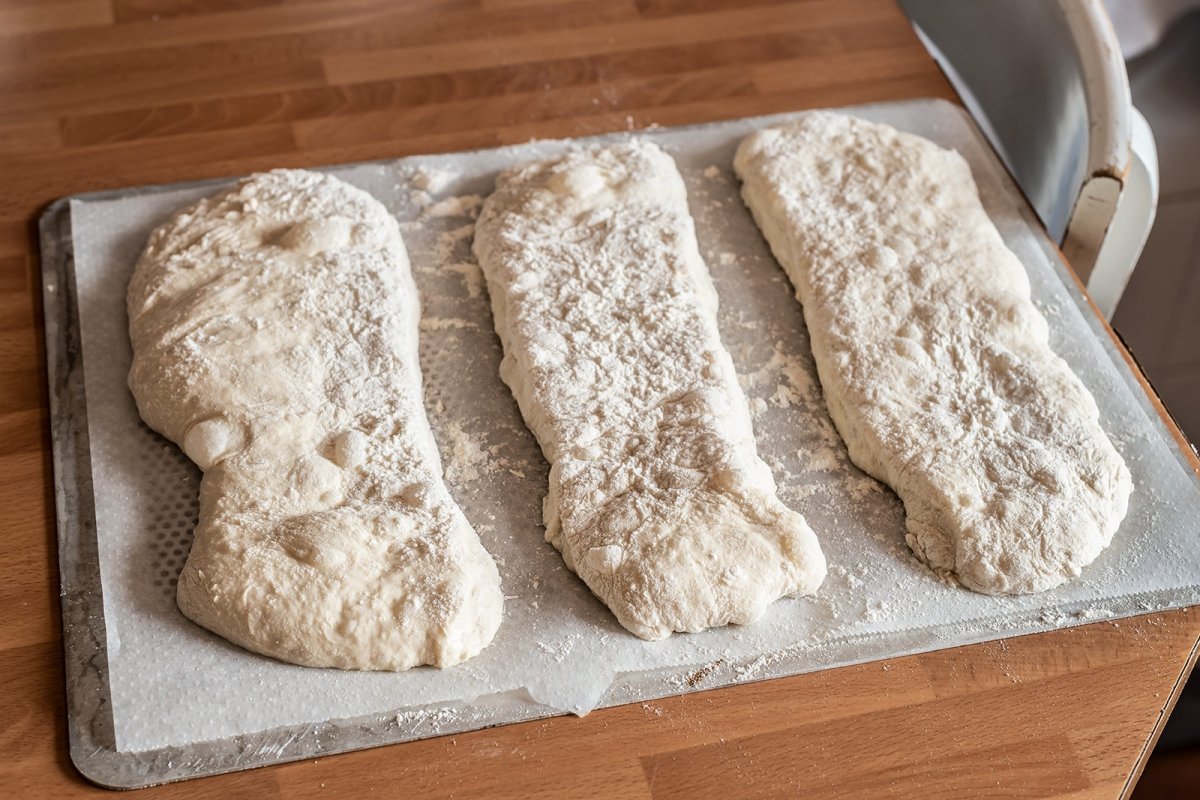
Putting the scraper and your hand under the rectangles of dough, transfer them to the tray, being careful not to deflate them any more and reposition them to give them a uniform shape.
Cover with plastic and leave to ferment for the last time for 10 to 30 minutes, depending on room temperature, until they become slightly more foamy (they don’t need to double; they were already slightly fermented when cut).
Heat the oven to 240 ºC with enough time so that it is at full power when the doughs are ready. When the oven is hot, immediately put the tray in the oven (better if you have some type of stone or metal plate for bread or pizza), the first 10 minutes of cooking should that the environment inside the oven is humid; place a tray with water in the bottom before putting the dough.
Bake the bread for about 25 minutes, until golden and crisp. If at the end of this time the bread is not browned enough, connect the air in the oven (if available) and bake another 5-10 minutes with the air at 170-180ºC so that the bread browns and finishes drying out. .
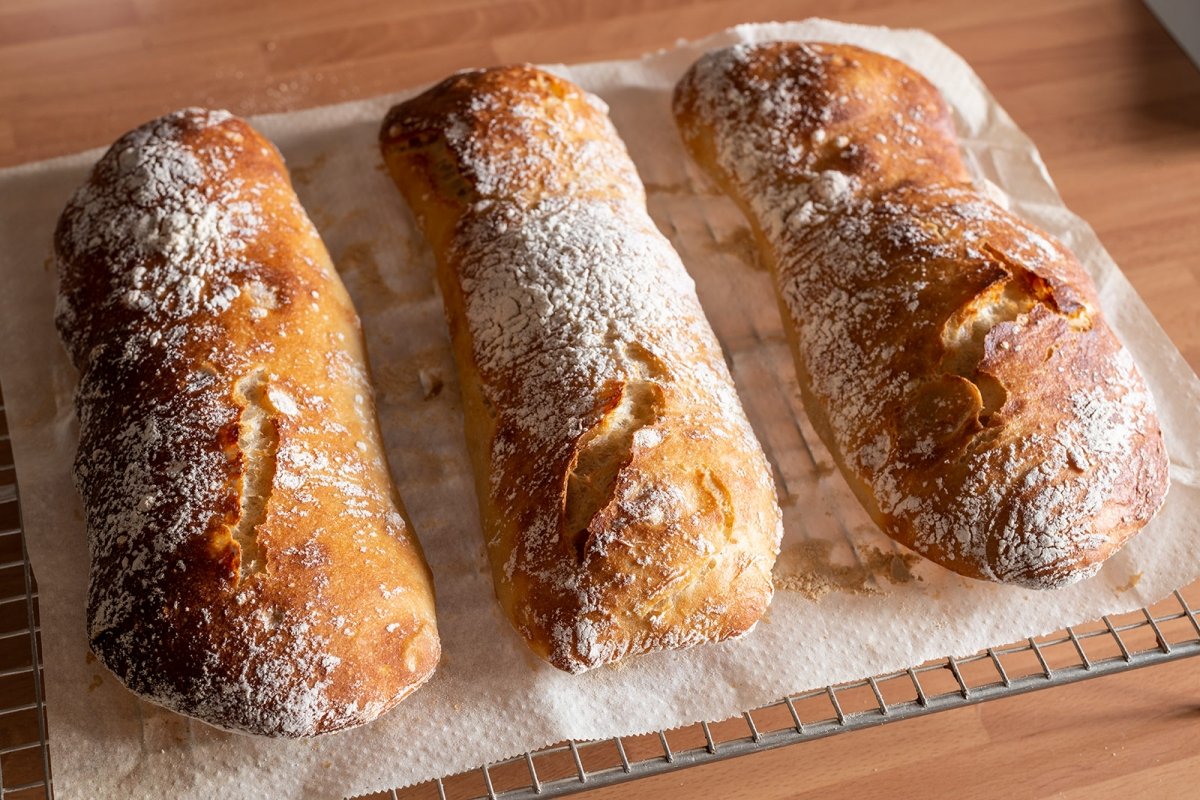
Transfer the loaves to a wire rack. Let cool completely before cutting your crystal loaves.
Easy preparation summary
-
- Mix 400 g of flour, 360 g of water, 8 g of salt and 3 g of freeze-dried baker’s yeast; rest 10 minutes
-
- Make 5-6 folds of the dough to develop the structure, every 30 minutes, until the dough moves like a custard when shaken. Leave to ferment for a few more minutes if the dough is still not sufficiently fluffy
-
- Turn onto the abundantly floured table, roll out carefully into a rectangle and cut into three equal rectangles.
-
- Transfer them to an oven tray and leave to ferment for the second time
-
- Cook at 240 ºC for 25 minutes and then another 10 minutes at 180 ºC, as they brown.
-
- Remove to a wire rack and let cool completely


Welcome to Sweet Eats Cakes
Where delectable dreams come to life in the form of exquisite confections! Sweet Eats Cakes isn't just about taste; it's about turning moments into memories. Our cakes are crafted with precision, attention to detail, and a sprinkle of magic to ensure that each slice is not just a treat for the taste buds but a feast for the eyes!